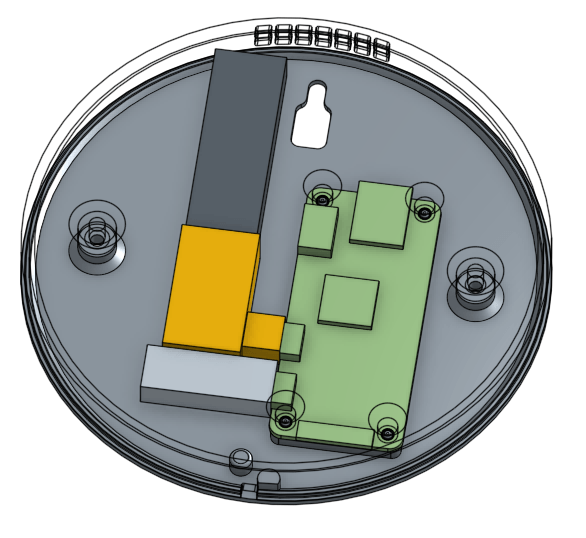
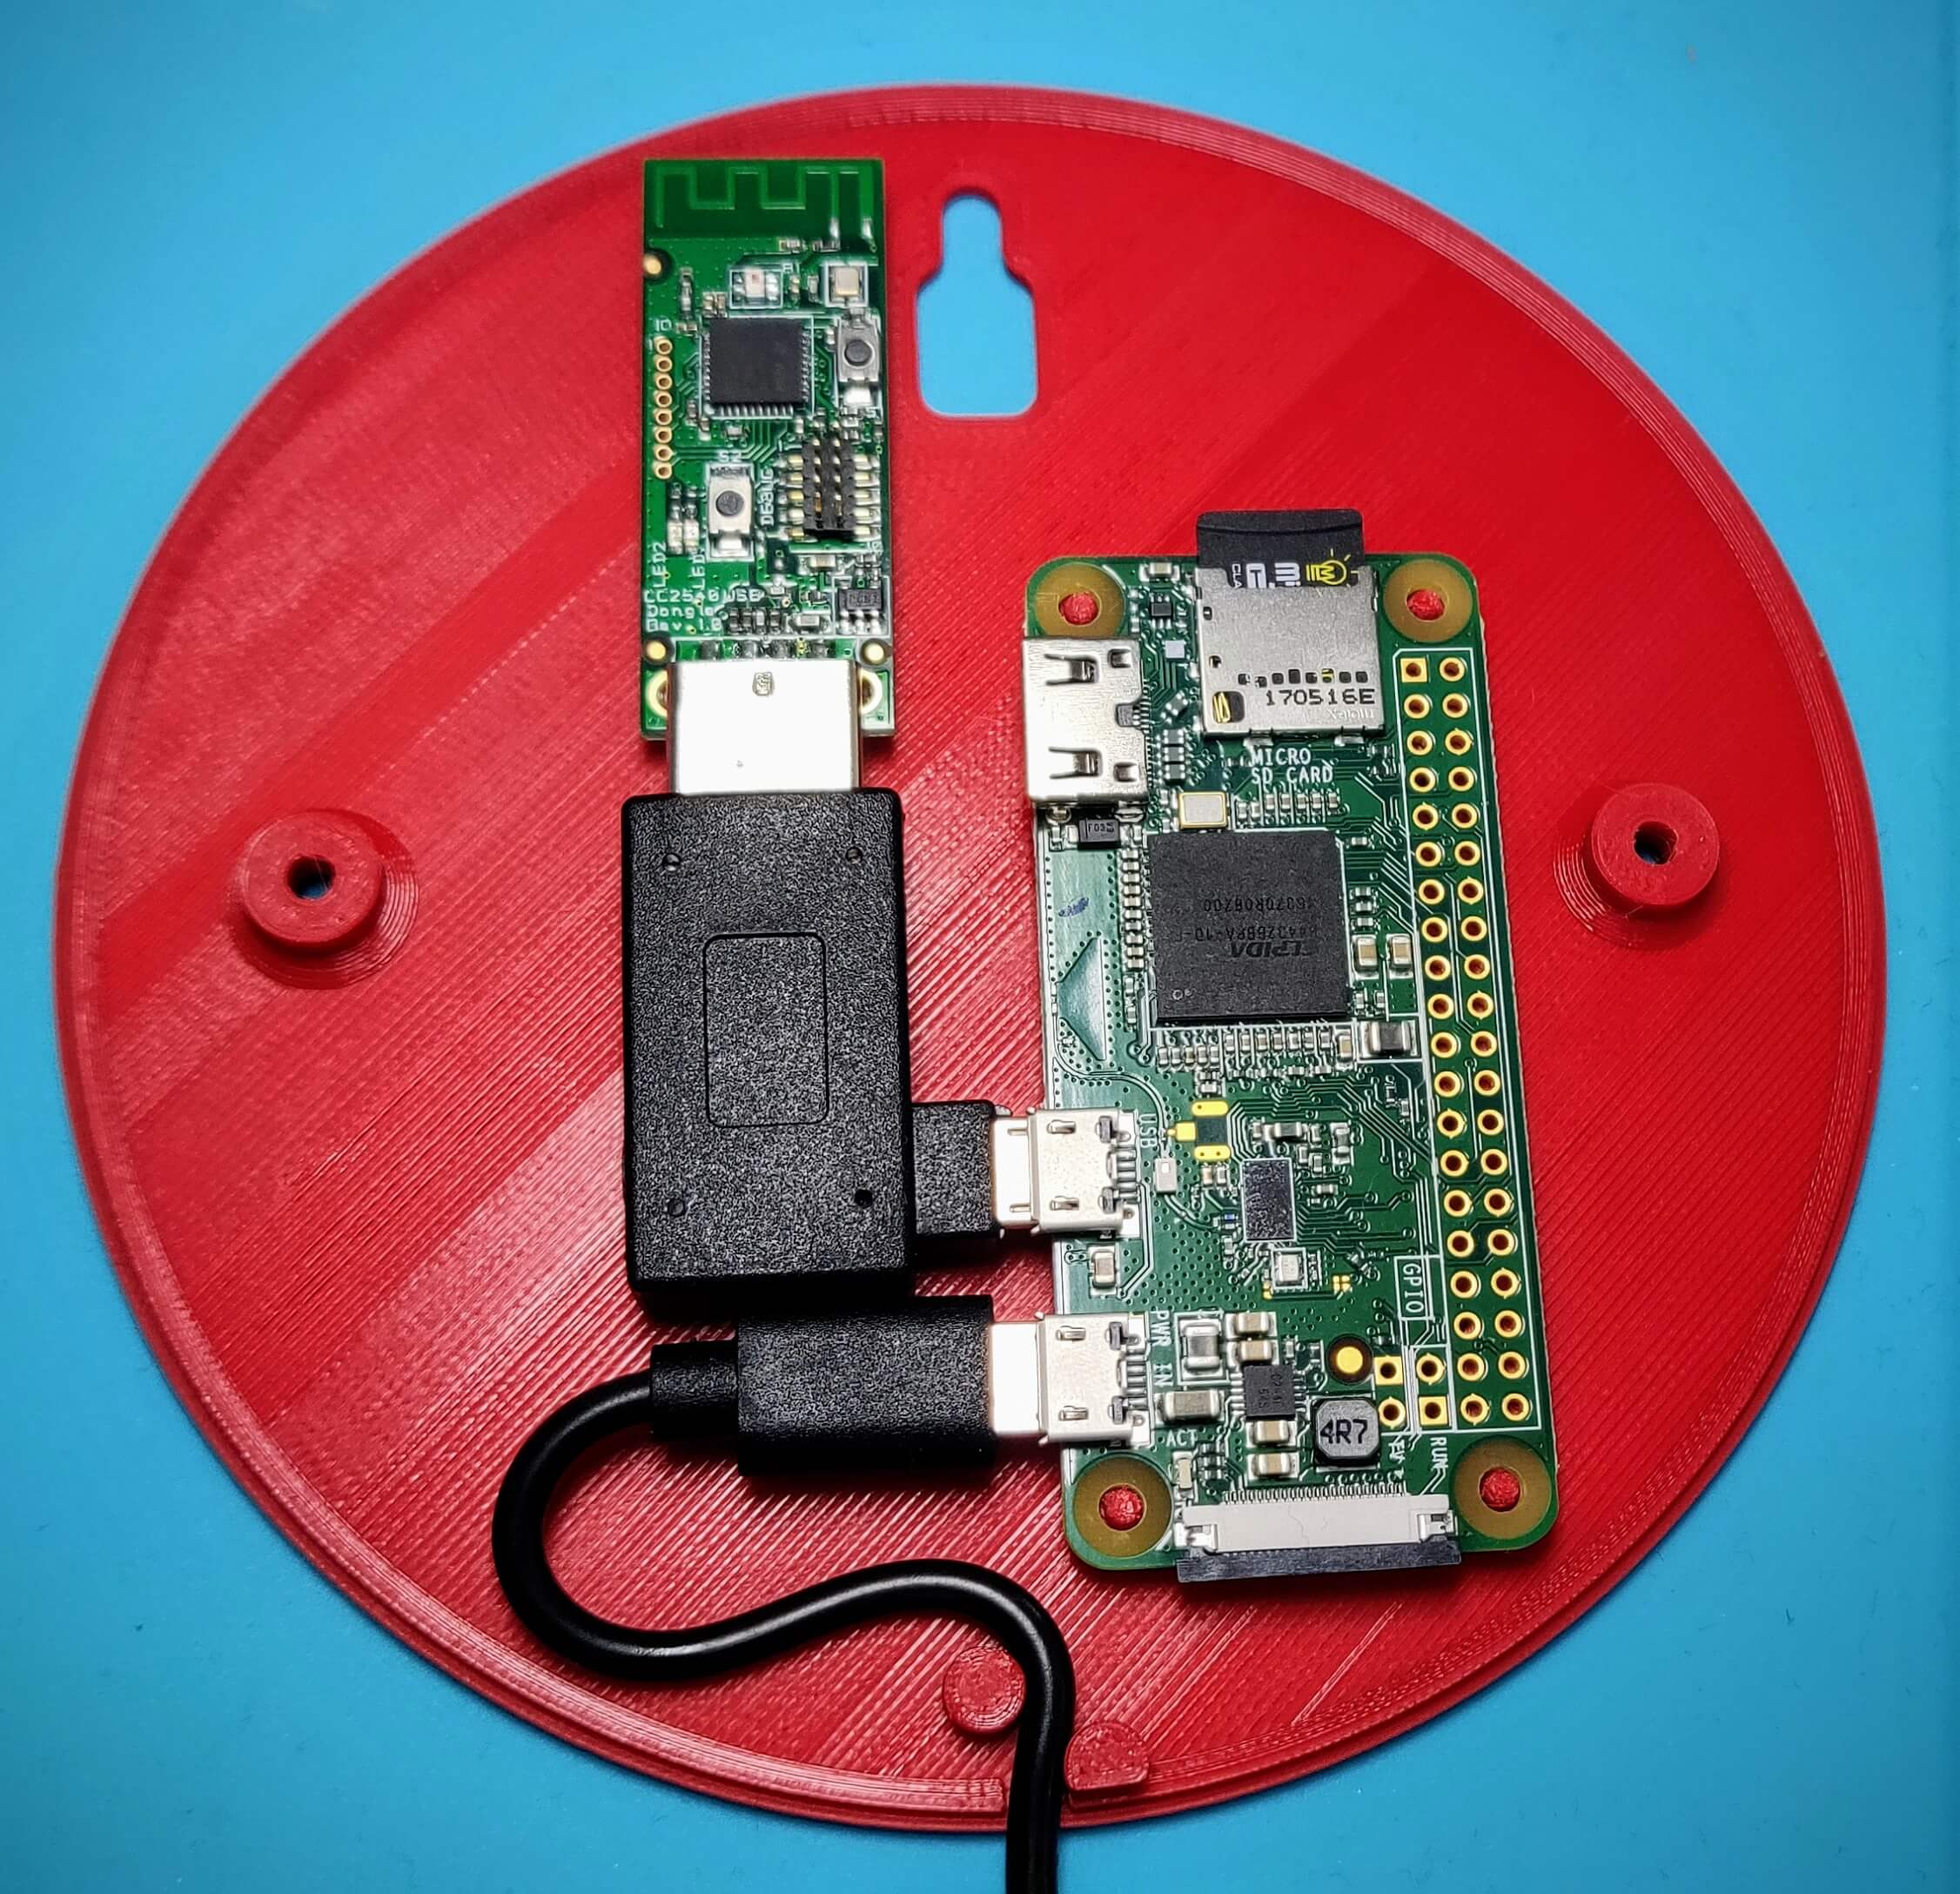
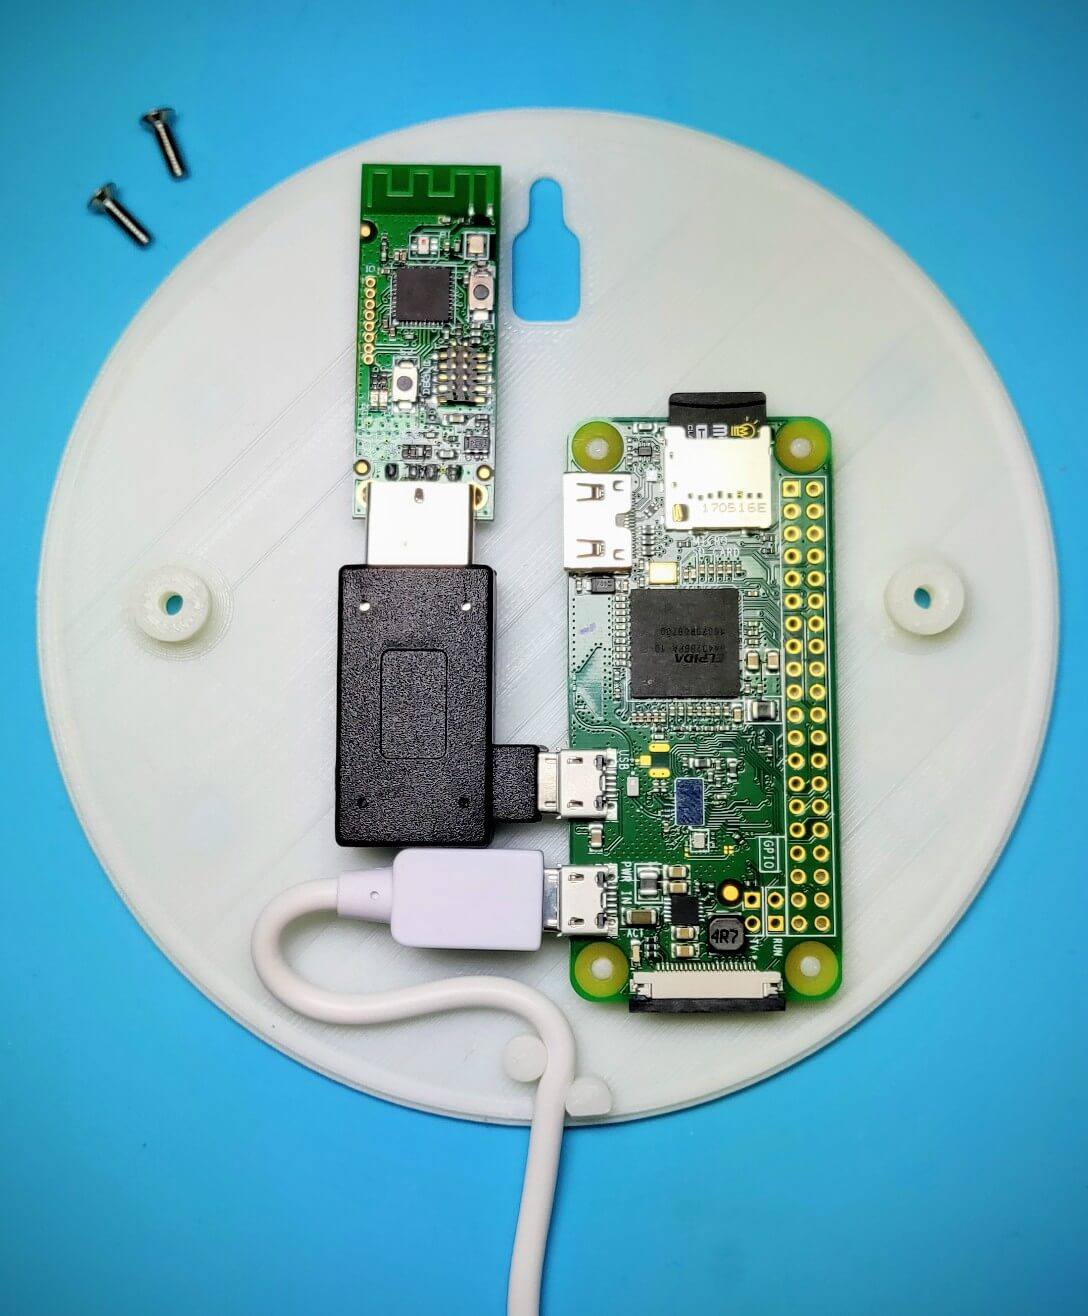
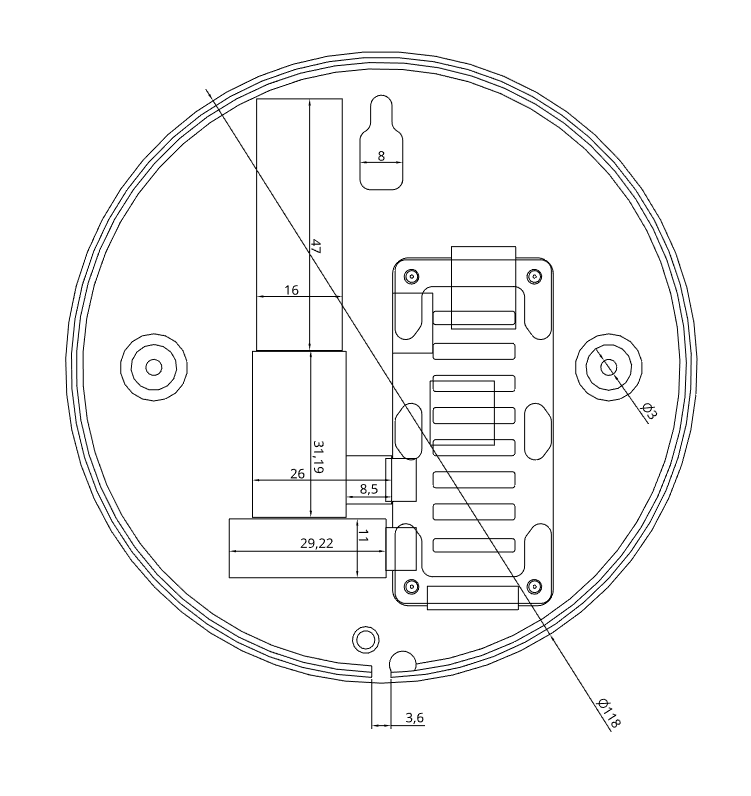
I am using a Zigbee to MQTT bridge for my home automation. The software runs on a Raspberry Pi Zero W and uses the CC2531 USB Sniffer to talk with Zigbee devices. I use a 90 degree angeled USB adapter to connect the USB stick with the Raspberry Pi. The setup of the bridge is described in the zigbee2mqtt getting started guide.
I really like the setup but in order to connect with all my devices the bridge needs to be in a central place. At the moment of writing I couldn’t find any case that would support the Raspberry Pi Zero together with the CC2531 USB stick that looks elegant enough to put it into the living room.
That is why I created my own case. I got my inspiration from a round Raspberry Pi case on Thingiverse. My case design is publicly available in Onshape 1. I also posted my case design on Thingiverse 2 since this is the first place to look for 3D files. The STL files can also be downloaded directly from my homepage 3 4 5.
Process
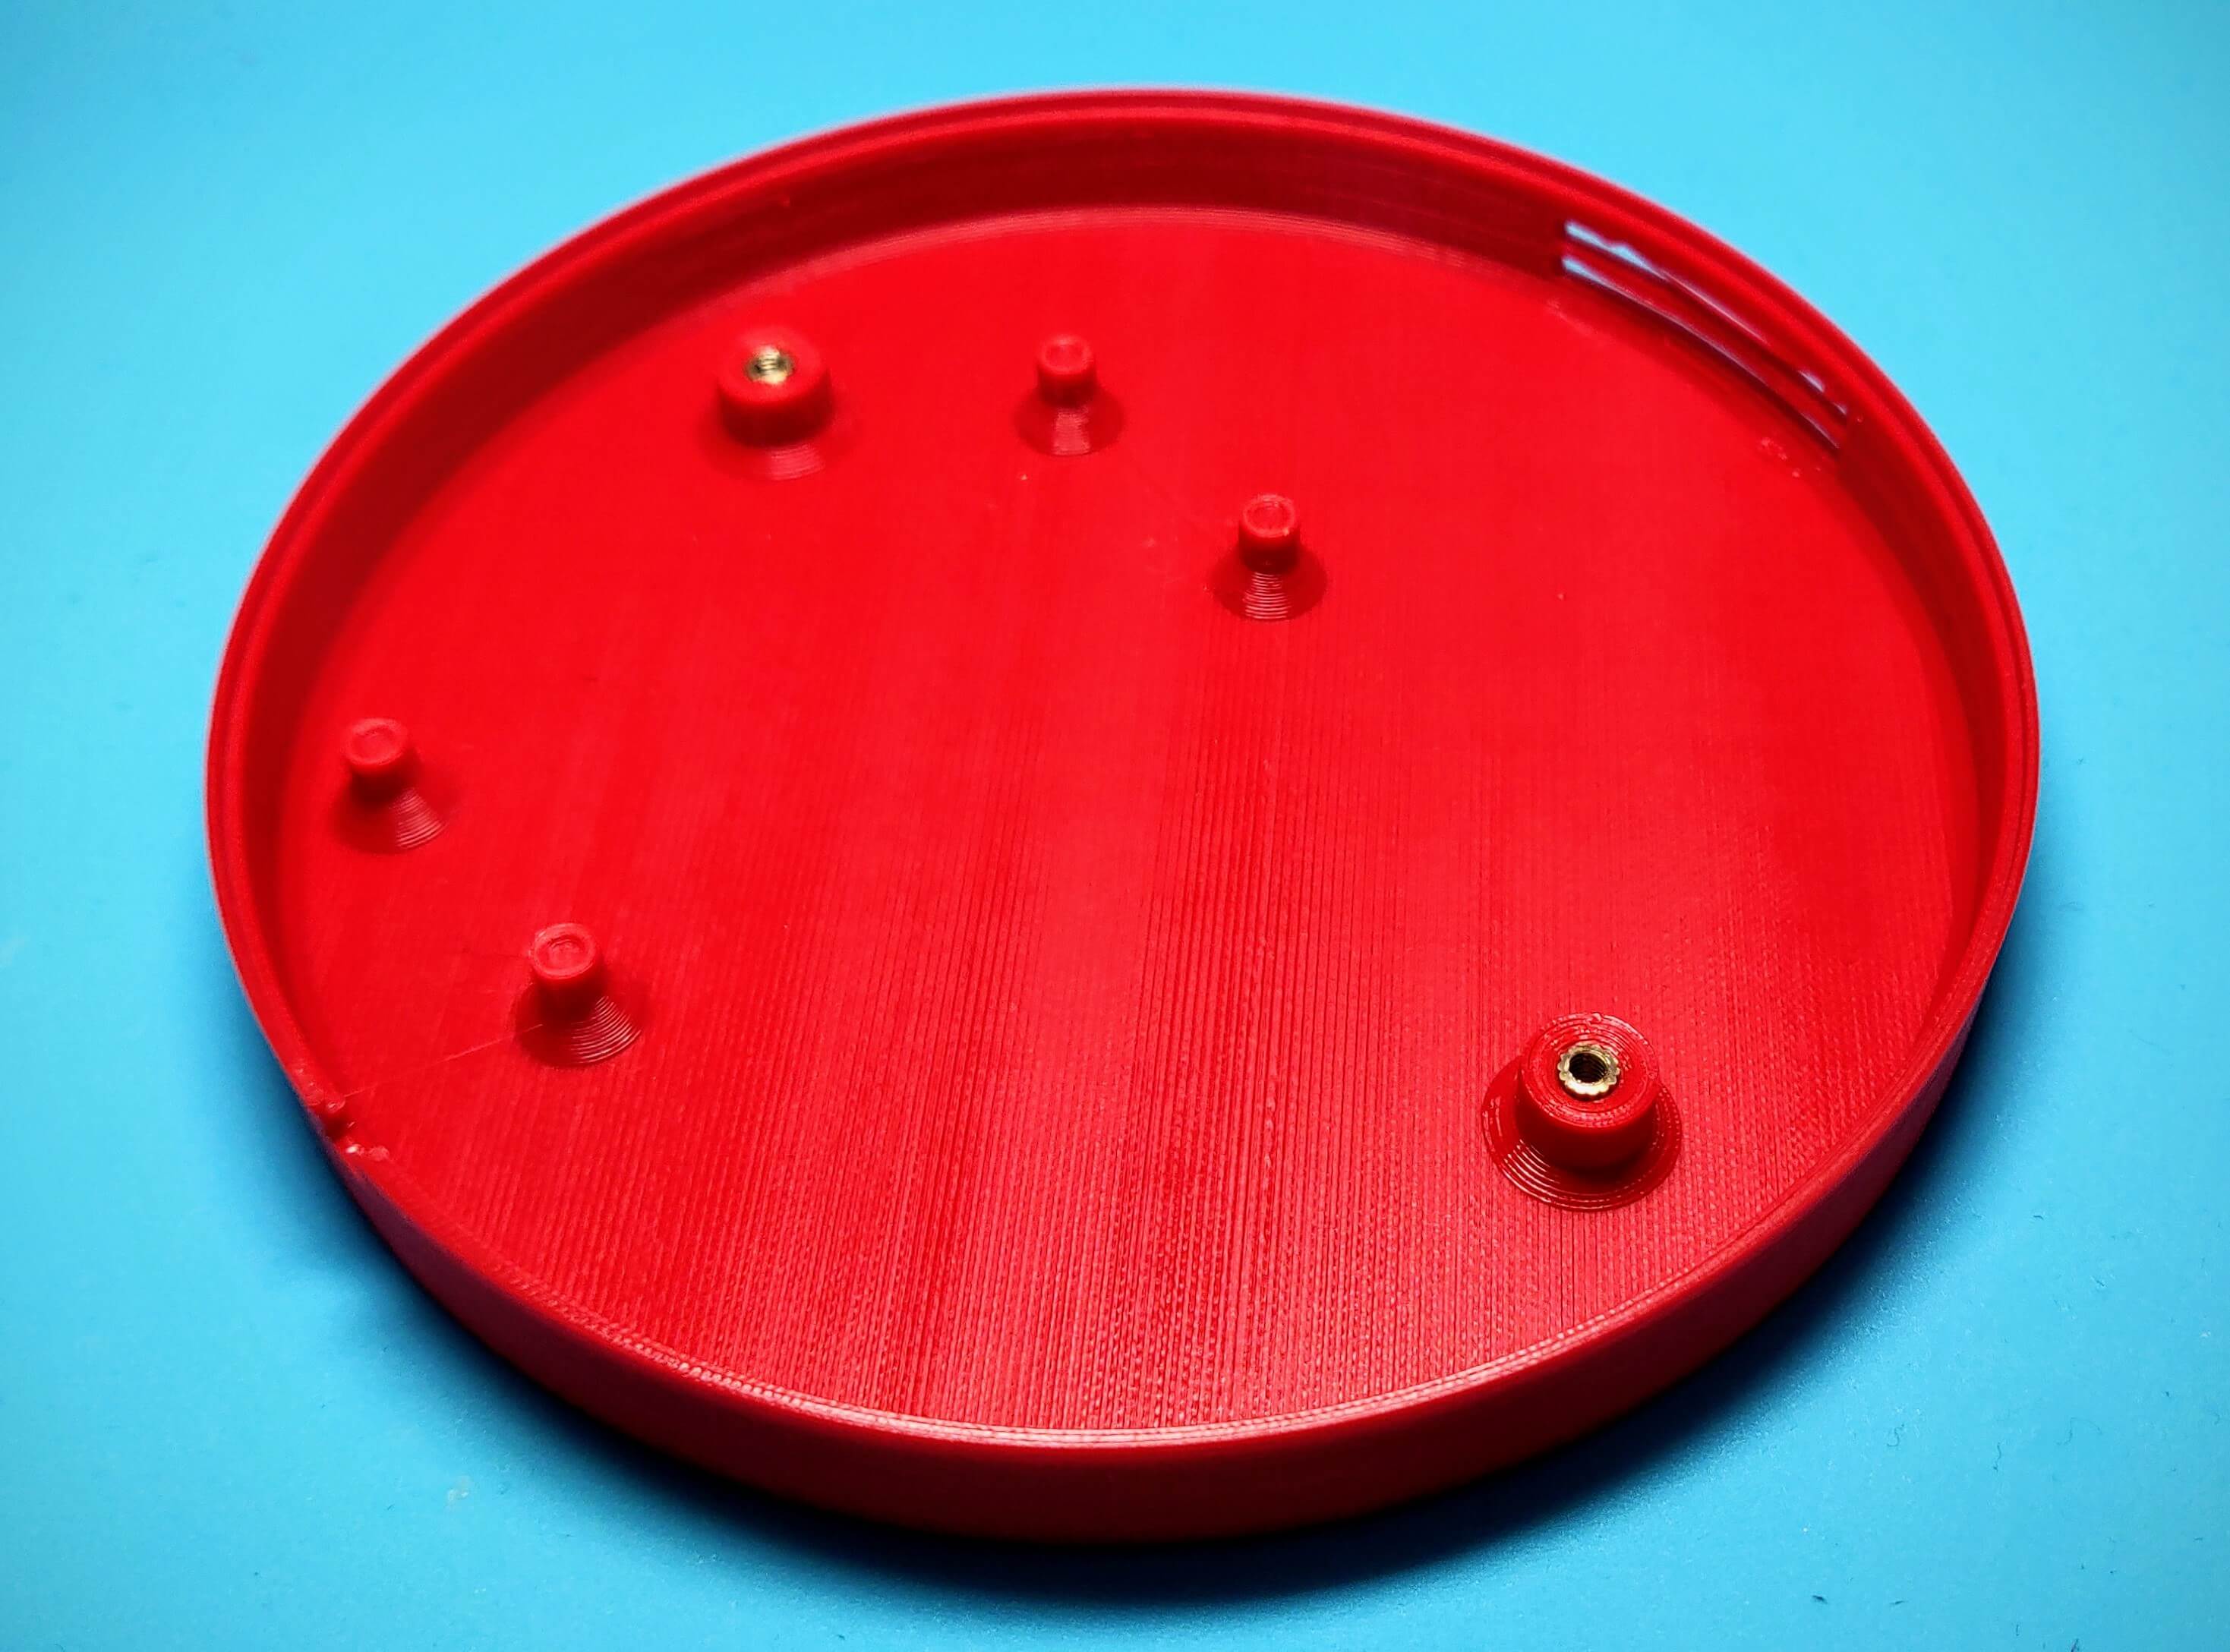
I started to print the case prototypes in PLA filament since it is easy to print and biodegradable. To close the case I added two M2.5 x 8mm flat head screws and two M2.5 x 4mm embedded knurled nuts. To fix the nuts I used a soldering iron to heat up the nuts and press them into the plastic. The case is 1.5cm high and is close to 12 cm in diameter.
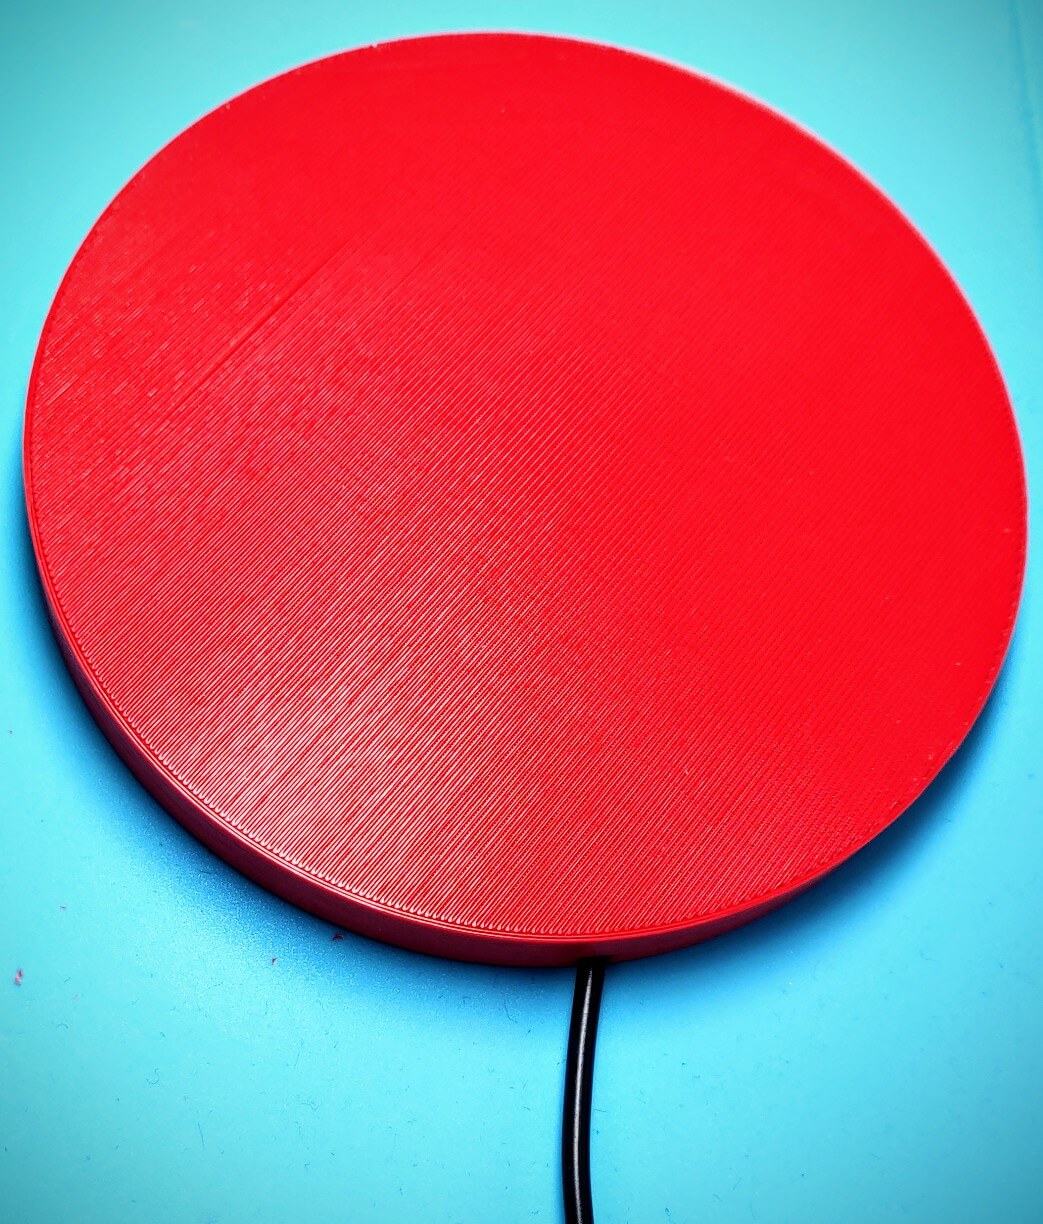
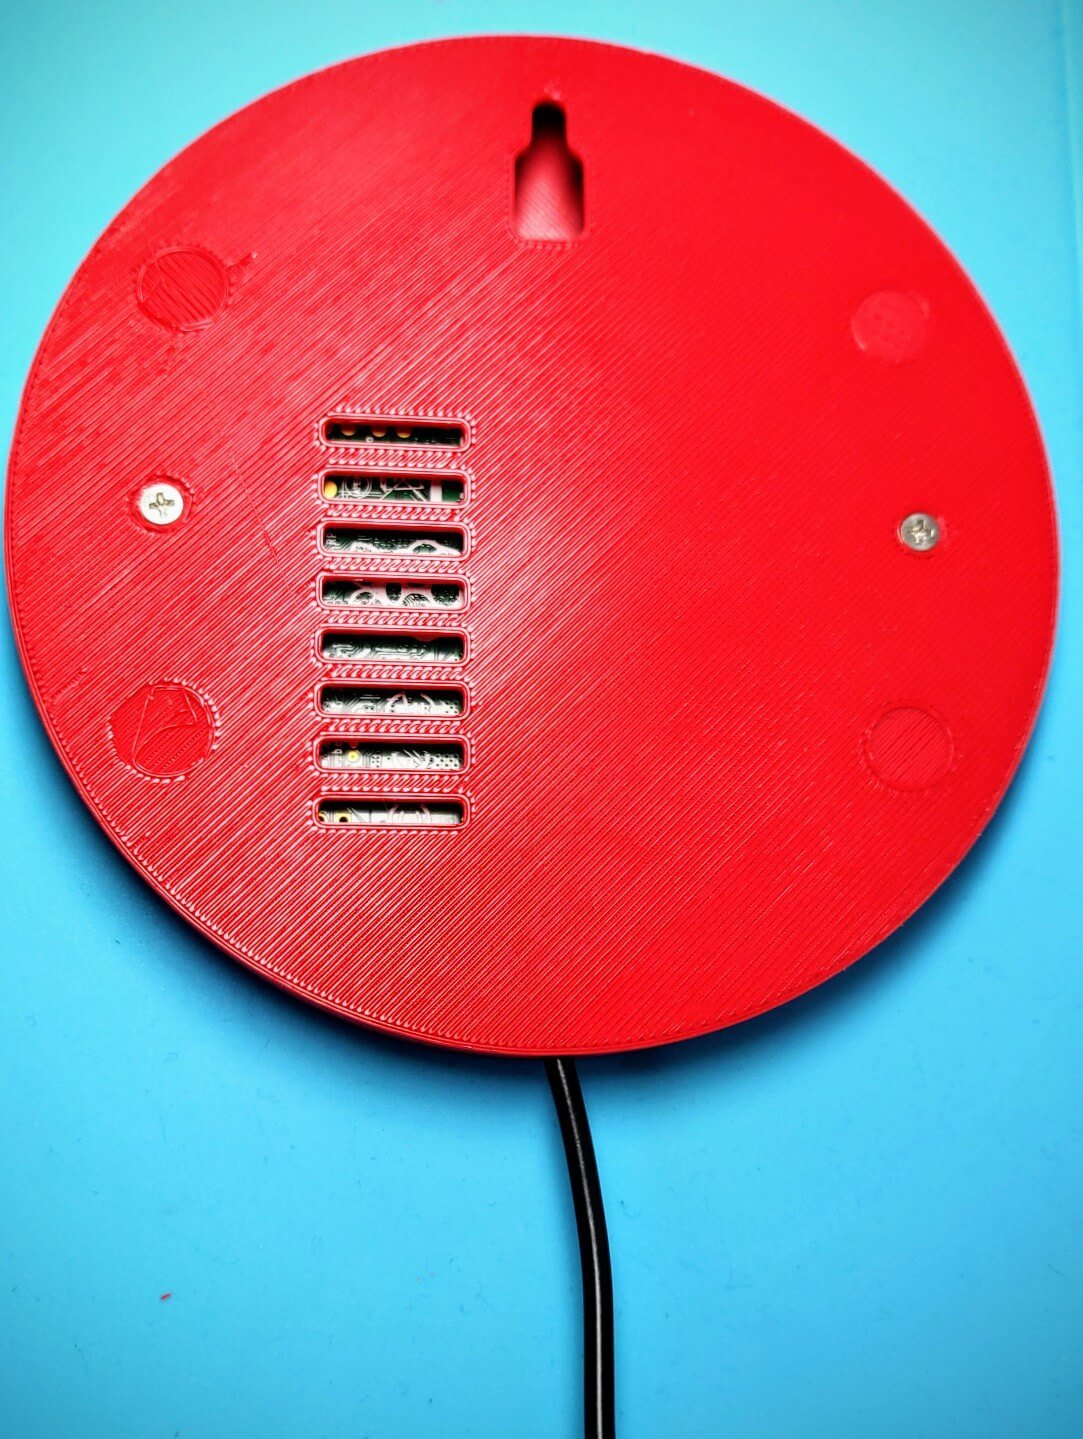
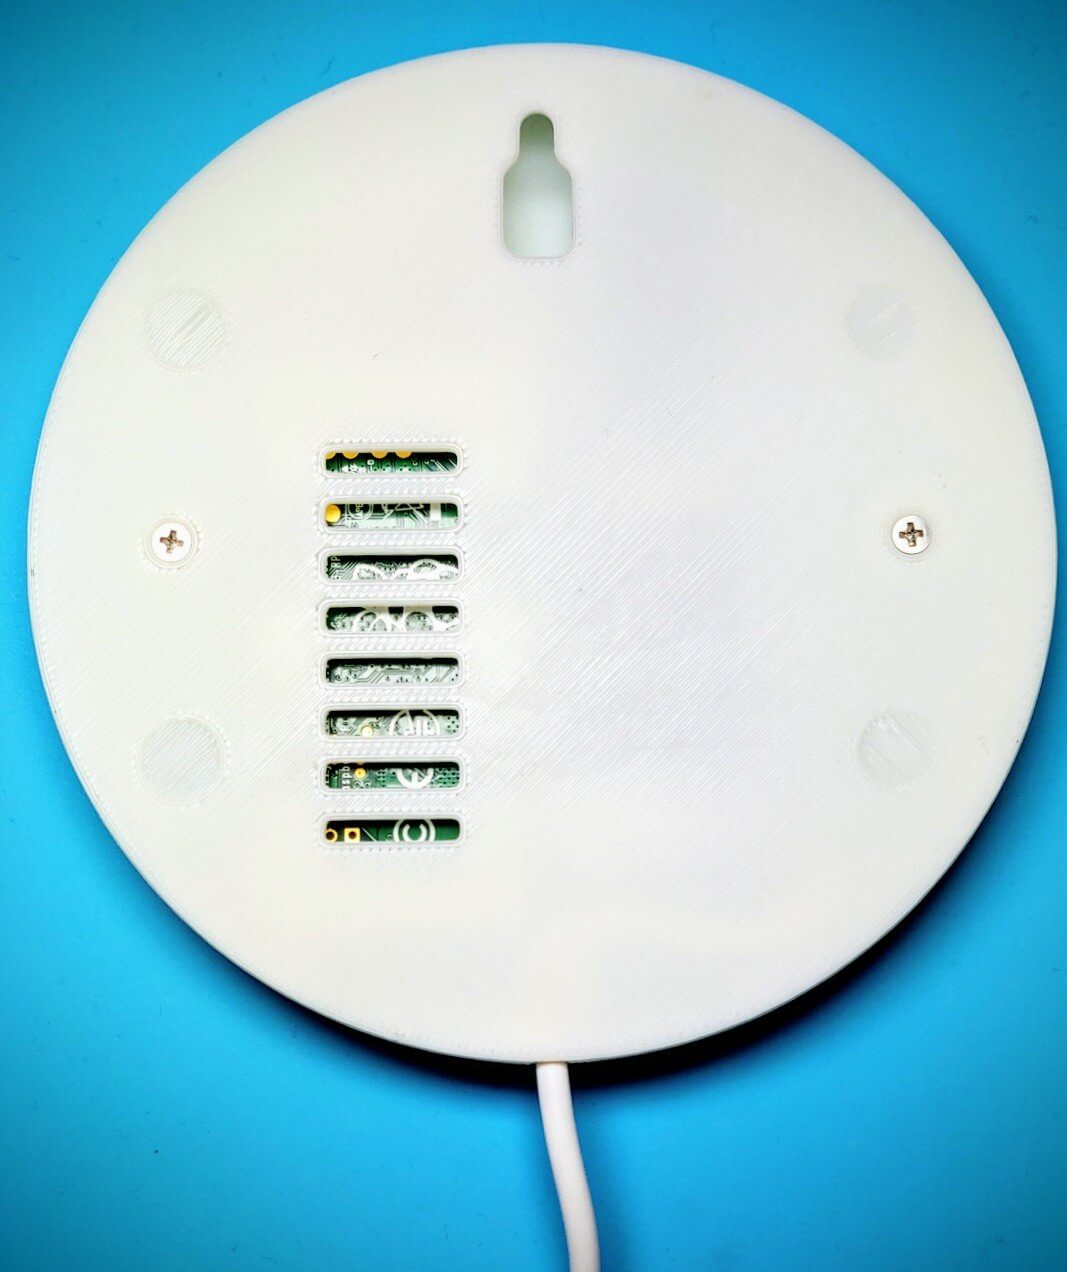
The final product I printed in white ABS since I like to have a better head resistant and a stronger material. I changed the ventilation shaft slightly since I didn’t want to use support material.
Verdict
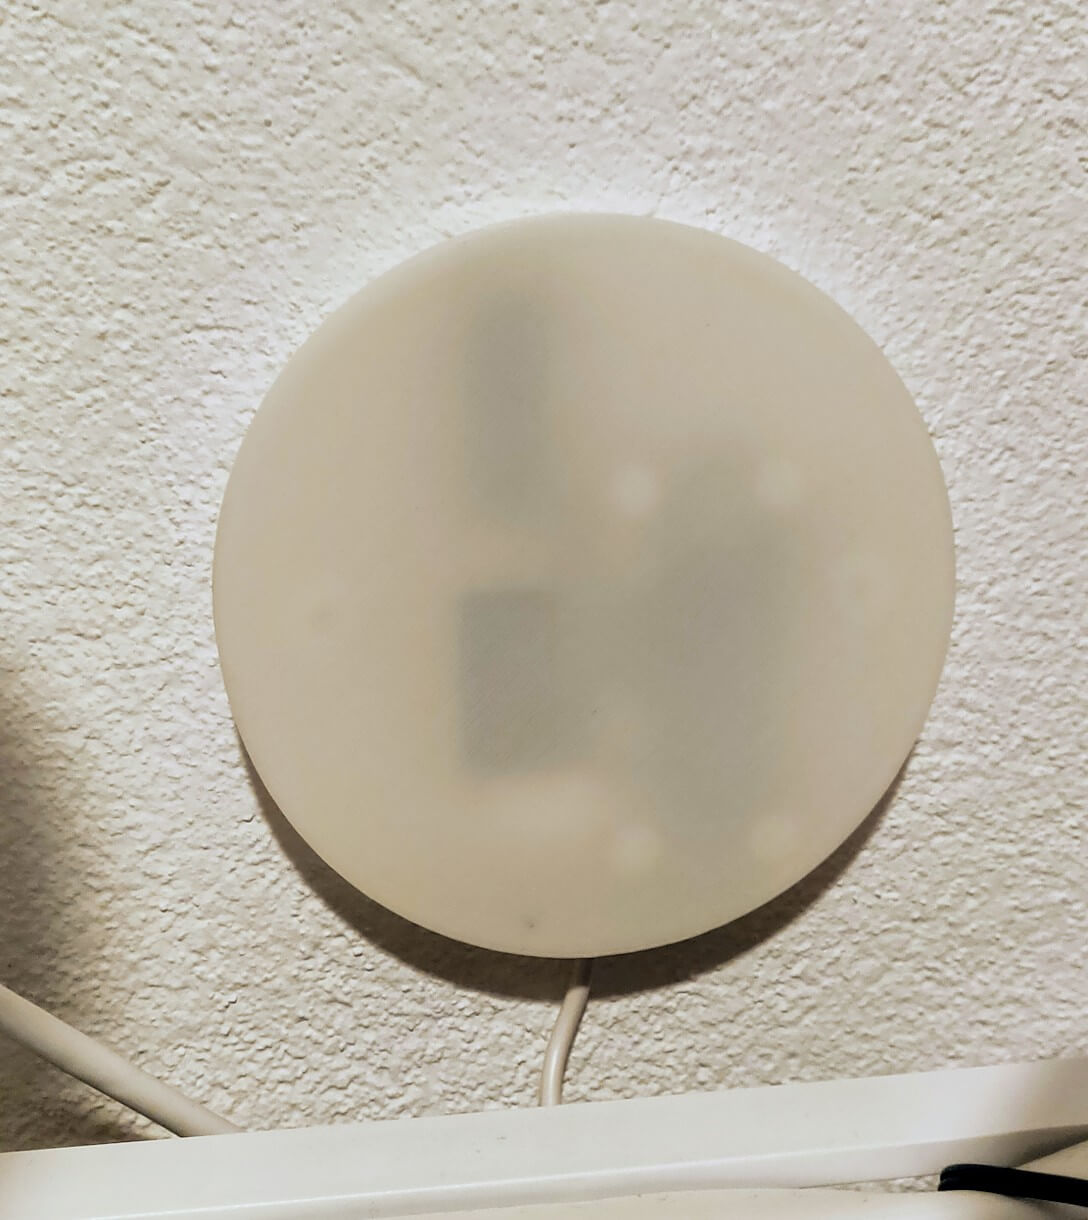
I am not 100% satisfied with the current design. One minor point is that the ventilation doesn’t look to good since i didn’t use support and didn’t post processed it. A slightly more annoying point is that the case has warped a little and the top is not completely closed around the ventilation shaft. I might need to add some sliding lock functionallity similar to the picture from adafruit in the future. But both points are only visible if you look closely. Mounted to a wall these minor defects are not visible.
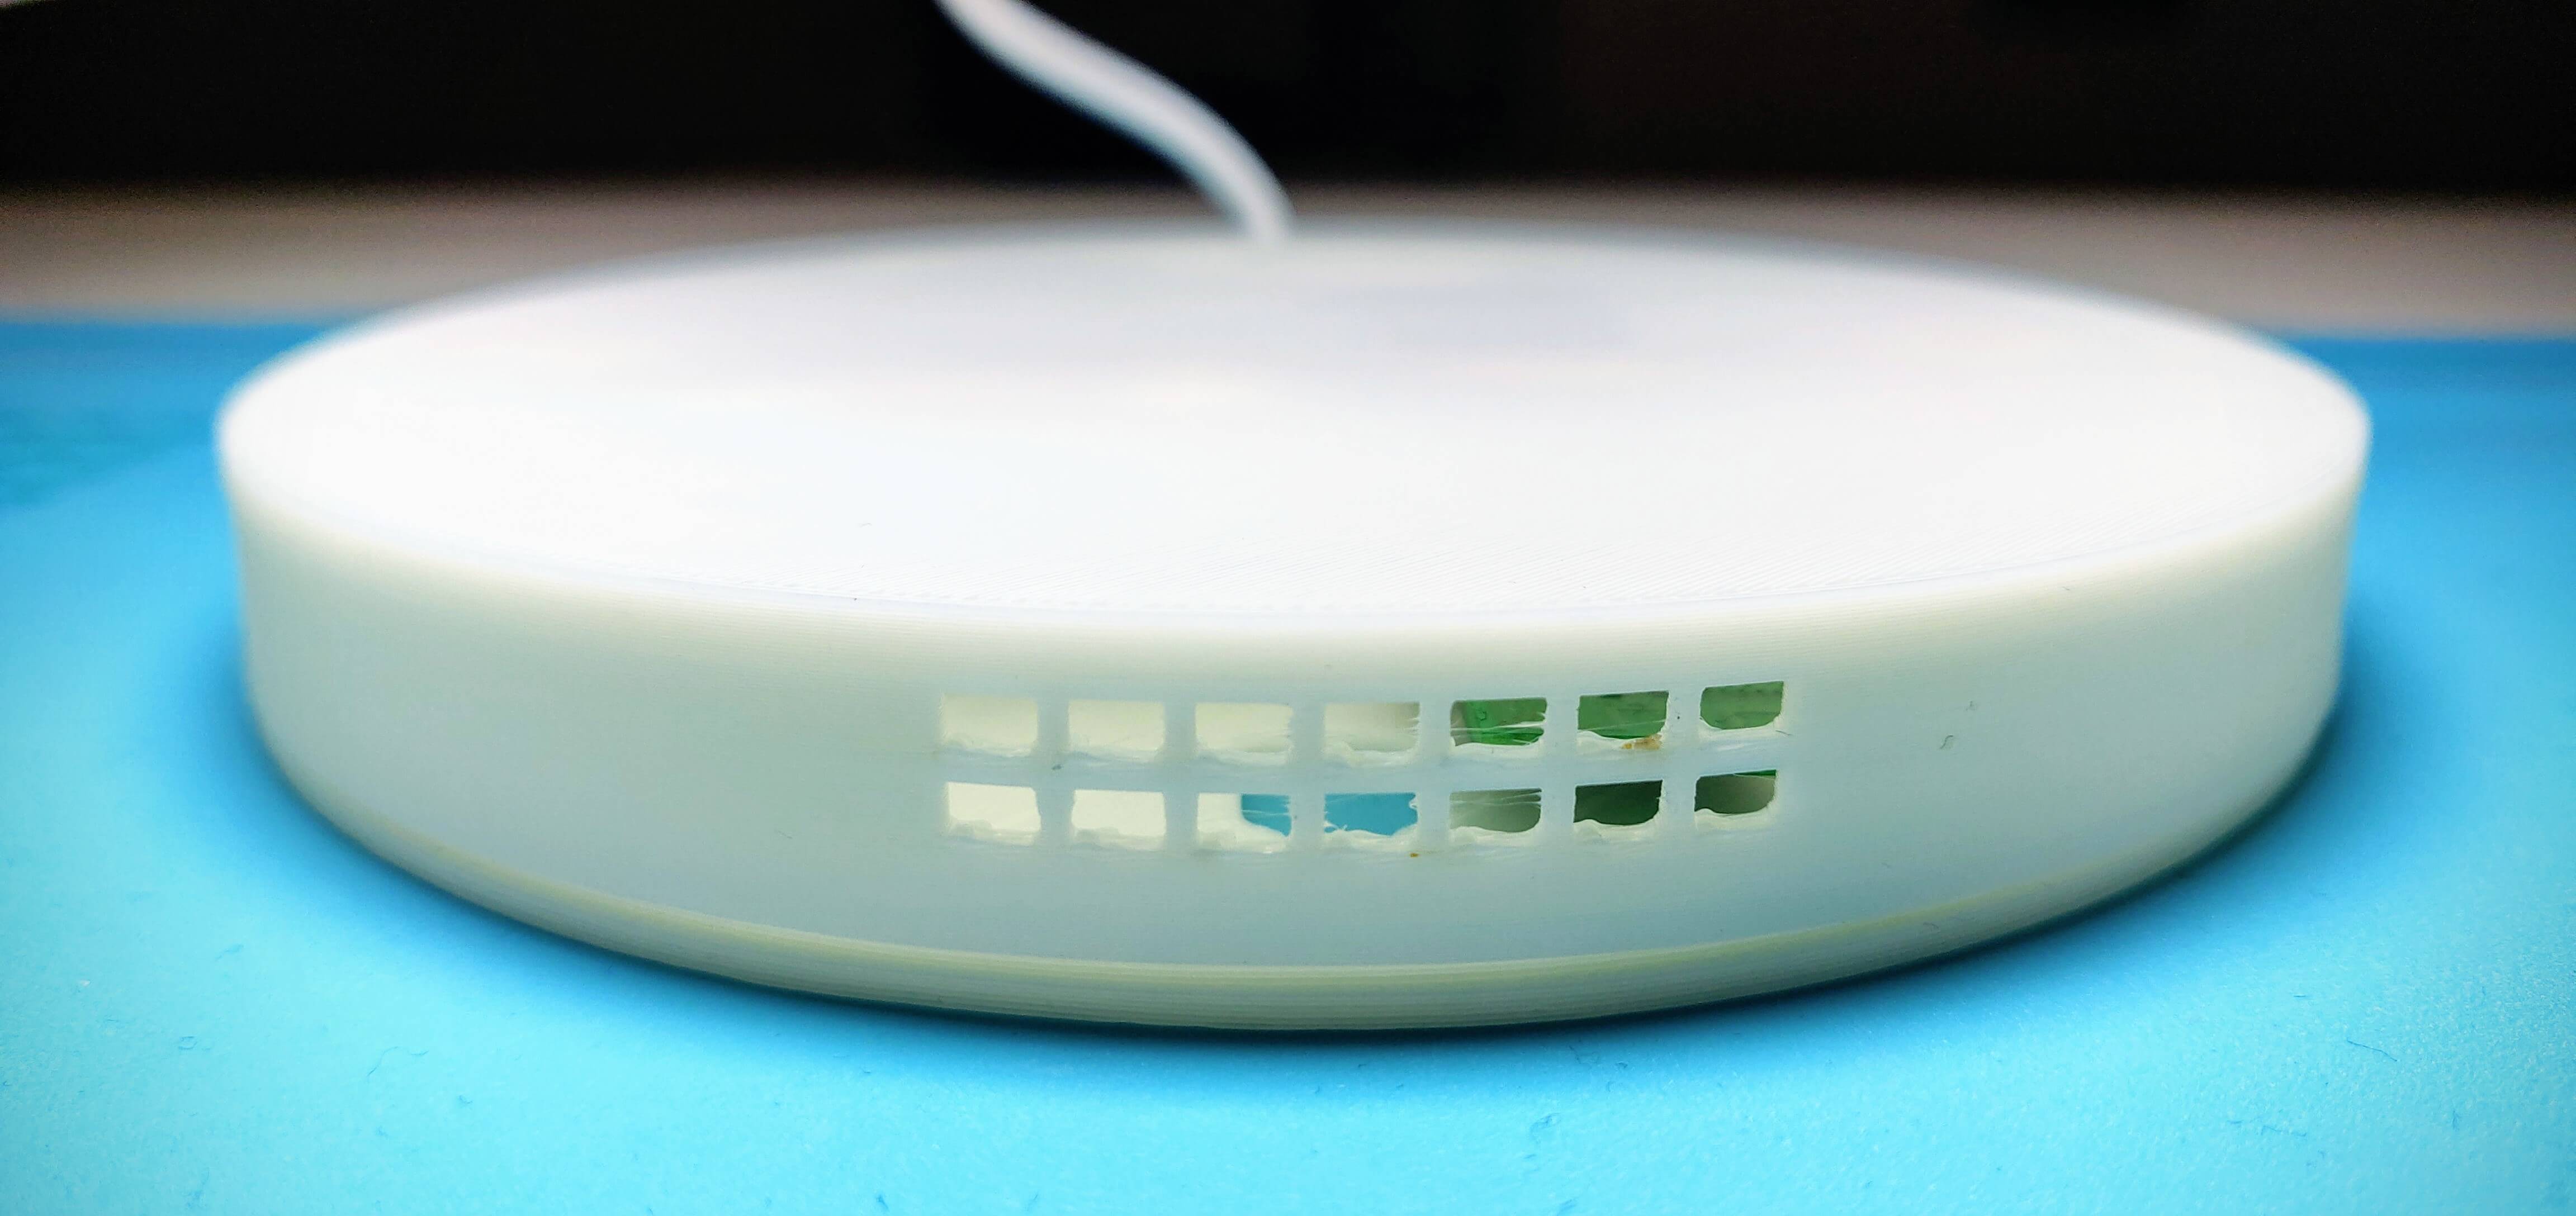
My biggest concern is regarding the filament. As you can see on the last picture it is slightly transparent. I could make the walls thicker, but I really don’t like to since they are already strong enough. Maybe I will experiment with different filament or color painting the case from the inside. Not sure yet!